
“I want to grow something at home, but I don’t want to buy pots and soil…” “I’d love some greenery, but I’m afraid of failing and killing the plants…”
If you’ve ever felt this way, this article is for you.
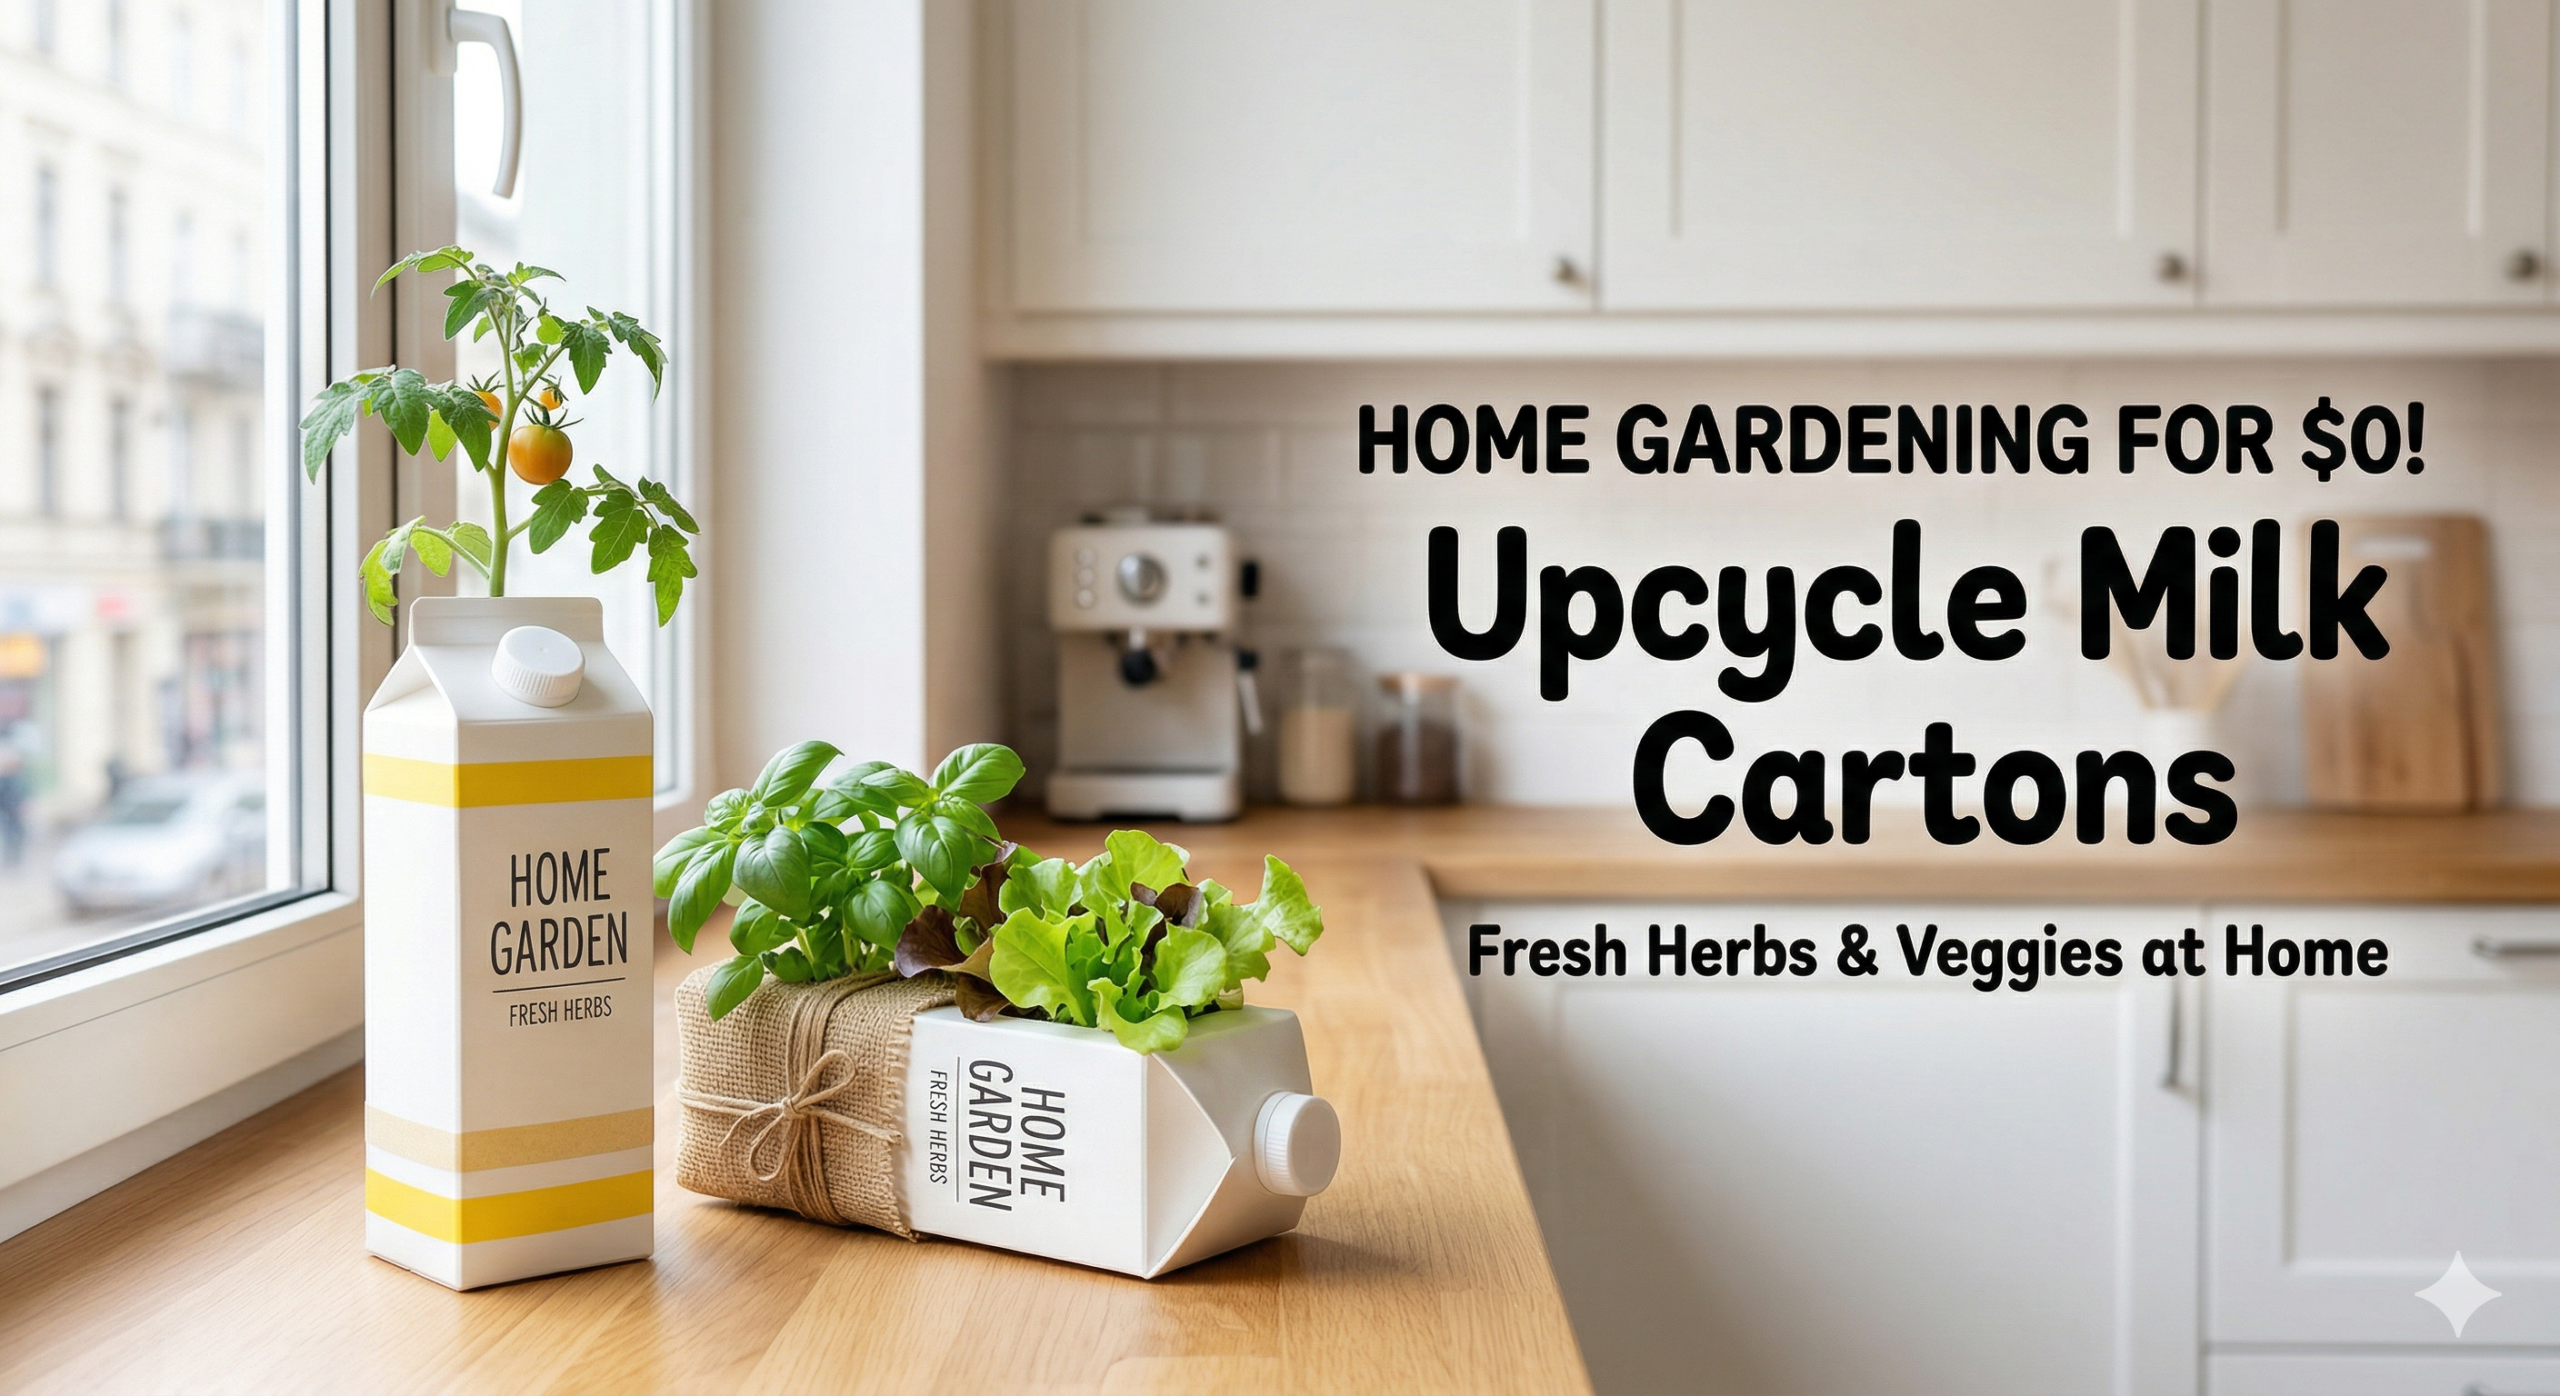
Actually, you can start a stylish mini-garden right now, for $0, using “something” that is in almost everyone’s refrigerator.
That “something” is a milk carton.
A milk carton is not just trash. It’s durable, waterproof, and can be transformed into the “ideal planter” for growing herbs and leafy vegetables.
In this article, we’ll explain everything you need to know about eco-gardening with milk cartons, from the basics and stylish upcycling techniques to tips for success and the joy of harvesting, all with clear images.
By the time you finish reading, you will surely find yourself washing your empty milk carton with excitement instead of throwing it in the trash.
Let’s start your easy, stylish, and delicious “home farming” with milk cartons!
Article Outline
- 1. Why Milk Cartons Are the “Ultimate Planter”
- The Ultimate Eco-Friendly Solution: Get It for $0
- Excellent Waterproofing and Durability
- The Ultimate Minimalism: Toss It in the Trash When You’re Done
- 2. Simple Preparation: Tools You Can Find at a Dollar Store
- What You’ll Need
- How to Choose Soil and Seeds (or Seedlings)
- 3. [Practice] How to Make a Milk Carton Planter (Visual Guide)
- Step 1: Wash and Dry
- Step 2: Choose the Shape (Vertical vs. Horizontal)
- Step 3: The Most Important Part! How to Make Drainage Holes
- 4. Upcycling Secrets: Erasing the “Milk Carton” Look
- Natural Look with Twine and Masking Tape
- Vintage Style with Paint
- Adding Character with Favorite Fabric Scraps
- 5. The Top 5 Plants Perfect for Milk Carton Gardening
- Herbs You Can Use Instantly in the Kitchen
- Leafy Greens for a Fun Harvest
- Vegetables Even Beginners Can Grow
- 6. The “Three Golden Rules” to Avoid Failure
- Timing and Amount of Watering
- Securing Sunlight and Ventilation
- Tips to Prevent Tipping
- 7. The Joy of Harvesting and Beyond
- Brighten Your Kitchen with Fresh Herbs
- Healing Brought by Small Greenery
〜Five Insider Secrets from a Pro to “Succeed” at Milk Carton Gardening〜
Welcome to the premium section! Here, I will share the specific steps I’ve perfected through trial and error, ensuring you avoid common mistakes, and reveal “high-end” upcycling techniques using only items from a dollar store.
1. [Illustrated] How to Create a “Perfect Drainage System” to Prevent Root Rot
The most common failure in milk carton gardening is root rot caused by inadequate water drainage.
- Number of Holes: Create 6 holes in total: one in each of the four bottom corners, and two in the center of the bottom.
- Side Holes: Create small holes on the “sides” as well, about 5mm to 1cm from the bottom. This prevents water from pooling at the very base and creates a vital air pathway.
- Substitute for Drainage Stones: While stones are standard, you can effectively substitute them with “pieces of broken styrofoam” or “rolled-up kitchen sink mesh nets” inside the milk carton. This drastically improves drainage.
2. Complete with Dollar Store Items! Upcycling to Transform Milk Cartons into “Interior Decor”
For those who say, “I hate the look of ‘trash'”: You can completely erase the milk carton aesthetic in three steps.
- Burlap & Twine: Simply wrap the carton with burlap from the gardening section of a dollar store and tie it with twine to achieve a chic, café-like look.
- Upcycling Sheets: When using wood-grain or marble-patterned sheets, cut the corners with a slight curve to prevent peeling.
- Iron Paint: Use a sponge to tap on black or dark brown paint, instantly giving the carton the texture of antique ironware.
3. “Vertical” vs. “Horizontal” – Which is Better? A Guide by Plant Type
- Vertical (Deep Style):
- Best For: Radishes, mini carrots.
- Reason: These require depth for their roots to grow downward.
- Horizontal (Shallow Style):
- Best For: Baby leaf greens, lettuce, basil.
- Reason: This configuration provides more surface area, allowing you to enjoy many sprouts at once.
4. Secrets to Reusing and Disposing of Soil
A major advantage of milk carton gardening is how easy it is to “dispose of the soil and all.”
- Once you’re done harvesting, set the entire carton out in the sun for a few days to dry completely.
- After the soil is dry and light, you can either dispose of it according to your local regulations or reuse it by mixing in a little fresh soil. If the carton itself is falling apart, you can simply toss the whole thing into the trash—this is its greatest charm.
5. 【Secret Trick】The Timing of Liquid Fertilizer
Because milk cartons hold little soil, the nutrients get used up quickly.
- The best timing is when the plant has 3-4 true leaves. At this point, start giving it liquid fertilizer diluted 1000 times, once a week. This single step can more than double your harvest.
Conclusion: A Small Harvest Enriches Your Daily Life
Adding freshly grown basil to your pasta. Sandwiching morning-picked lettuce. Such small luxuries can be yours with just one milk carton.
Today, after you finish your milk, don’t just throw the carton away—wash it. Your new hobby begins right there.


Comments